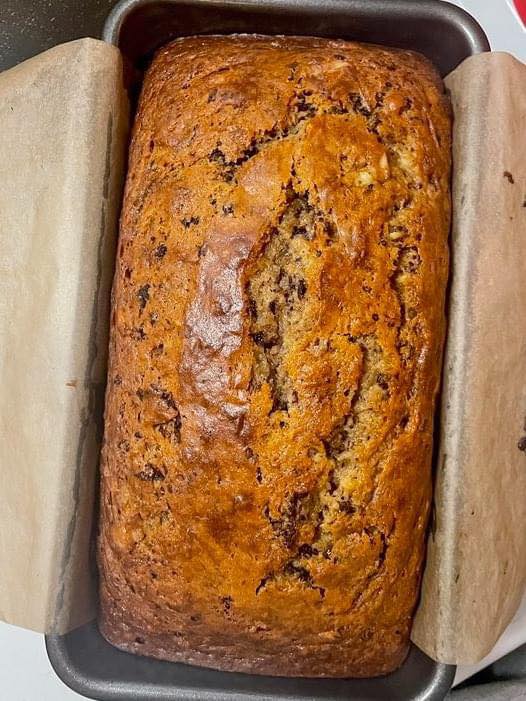
HOW TO MAKE EASY POTATO BREAD
This potato bread is far more flavorful and fresh than any potato roll you'd get in a supermarket. If you have any leftover mashed potatoes, you may use them to make the bread, but you can also use instant potatoes if that is all you have on hand. Take notice that it is essential to make use of water that has been filtered; the toxins that are found in tap water might kill the yeast and interrupt the process of proofing, also known as rising.
This light and airy bread is great for soaking up the juices of pulled pork, meatballs, or stews, and it also works well in a grilled cheese or peanut butter and jelly sandwich. Sandwiches aren't the only use for this versatile bread. You may have it toasted with some butter put on it for breakfast, you can use it to create French toast for brunch, or you can convert it into a delicious snack by adding pieces of prosciutto and cheese to it.
Since it makes two loaves, you may enjoy one right now and save the other for a later time by placing it in the freezer. You may also create potato rolls with this dough by dividing it into 24 balls, placing them on a baking sheet or in a pan, allowing them to rise for a second time, and then bake them for 15 to 20 minutes.
THE INGREDIENTS LIST:
Fresh or instant mashed potatoes; I used 1 cup.
2 large beaten eggs.
1/2 Cup.Of unsalted butter - softened.
1/2 Cup.Of brown sugar.
1 Tsp.Of salt.
2 1/4 Tsp.Of active dry yeast.
1/2 Cup.Of warm water.
5 Cups.Of bread flour.
Olive oil.
PREPARATION:
1st Step:
Combine the mashed potatoes, eggs that have been beaten, and butter that has been melted in a large bowl. Mix the yeast, sugar, and salt into the warm filtered or bottled water while stirring.
2nd Step:
Stir in the flour one cup at a time, being sure to sift it before each addition, until the dough can be kneaded by hand without too much difficulty.
3rd Step:
Knead the dough on a board or surface that has been dusted with flour until it is silky smooth and springy to the touch. (The process of kneading helps build the gluten and creates long strands, both of which contribute to the ductility of the finished product.)
4th Step:
Prepare a bowl by greasing it with olive oil. After adding the dough, make sure both sides of the bowl are lightly oiled by turning it over in the basin. After the dough has doubled in size, remove the lid from the bowl and let it rise for another hour or two. (To encourage the dough to rise, set it in the area of your kitchen that is the hottest.)
5th Step:
The best way to compact the dough is to make a fist and push it down forcefully in the middle of the dough. To shape the dough into a ball, bring the dough's edges into the middle of the bowl and fold them over. After turning it out onto a board that has been dusted with flour, quickly knead it to remove any air bubbles.
6th Step:
Make two loaves out of the dough by cutting it in half. Put each loaf in a bread pan that is 8 × 4 x 2 inches and has been greased. Cover the dough and let it perform a second round of rising for another forty minutes, or until it has doubled in size.
7th Step:
Bake at 375 degrees Fahrenheit for forty minutes, or until tapping the top of the bread produces a hollow sound.
8th Step:
After removing the loaves from the pans, place them on a cooling rack to finish cooling down. You may eat it toasted, as a sandwich, as a side dish, or just by itself with a meal.


